
Pumpkin Painting Canvas: Easy Ideas for Fall Decor
Key Takeaways:
- Gather basic acrylic supplies and follow a simple step by step to paint pumpkins on canvas with confidence;
- Try trending pumpkin painting canvas ideas like white pumpkins, stacked gourds, florals, and Halloween silhouettes to match your style;
- Photograph and digitize your canvas correctly so colors look true when you print your art;
- Turn your finished pumpkin painting photos into adhesive, repositionable Mixtiles for easy seasonal gallery walls without nails.
Pumpkin painting canvas projects are the perfect cozy craft for fall. Whether you are new to acrylic painting or you host paint and sip nights, you can create warm, seasonal art with a few tools and a calm palette. In this guide, you will learn an easy method for pumpkin painting on canvas, explore fresh ideas and color combinations, and see how to photograph your work for printing. Then, bring your paintings to the wall with Mixtiles in minutes.
Create your fall gallery. Snap a pic of your pumpkin painting and print it as lightweight photo tiles that stick and restick without nails. Order easily on the Mixtiles app or website.
What supplies do you need for an easy pumpkin painting canvas?
You only need a few essentials to paint pumpkins with acrylic paint at home.
- Canvas: 8x10, 11x14, or square, pre-primed cotton or canvas panel;
- Paint: Acrylics in orange, white, burnt umber, raw sienna, yellow ochre, ultramarine or teal, titanium white;
- Brushes: Flat 1/2 inch, round size 4 to 8, liner or detail brush;
- Extras: Palette, water cup, paper towels, chalk or light pencil, masking tape;
- Finish: Matte or satin acrylic varnish and a soft brush for sealing.
How do you paint a pumpkin on canvas step by step (beginner-friendly)?
This quick method keeps shapes simple, uses layered values, and finishes with a clean seal.
1. Sketch the form: Lightly draw an oval or squat circle, add curved vertical ridges that meet at the stem;

2. Lay a background wash: Brush a thin neutral or contrasting color around the silhouette to set the mood;

3. Block the pumpkin: Fill with a mid-orange for classic pumpkins or warm neutrals for white pumpkins on canvas;

4. Shade the ridges: Deepen grooves with burnt umber or raw sienna, then soften with a clean, slightly damp brush;

5. Add highlights: Mix titanium white into your base, brush highlights toward the center of each segment for roundness;

6. Paint the stem and details: Use a dark base, add lighter streaks, optional speckles, vines, or leaves for character;

7. Dry and seal: Let the acrylic painting dry fully, apply a thin, even coat of varnish to unify sheen and protect.

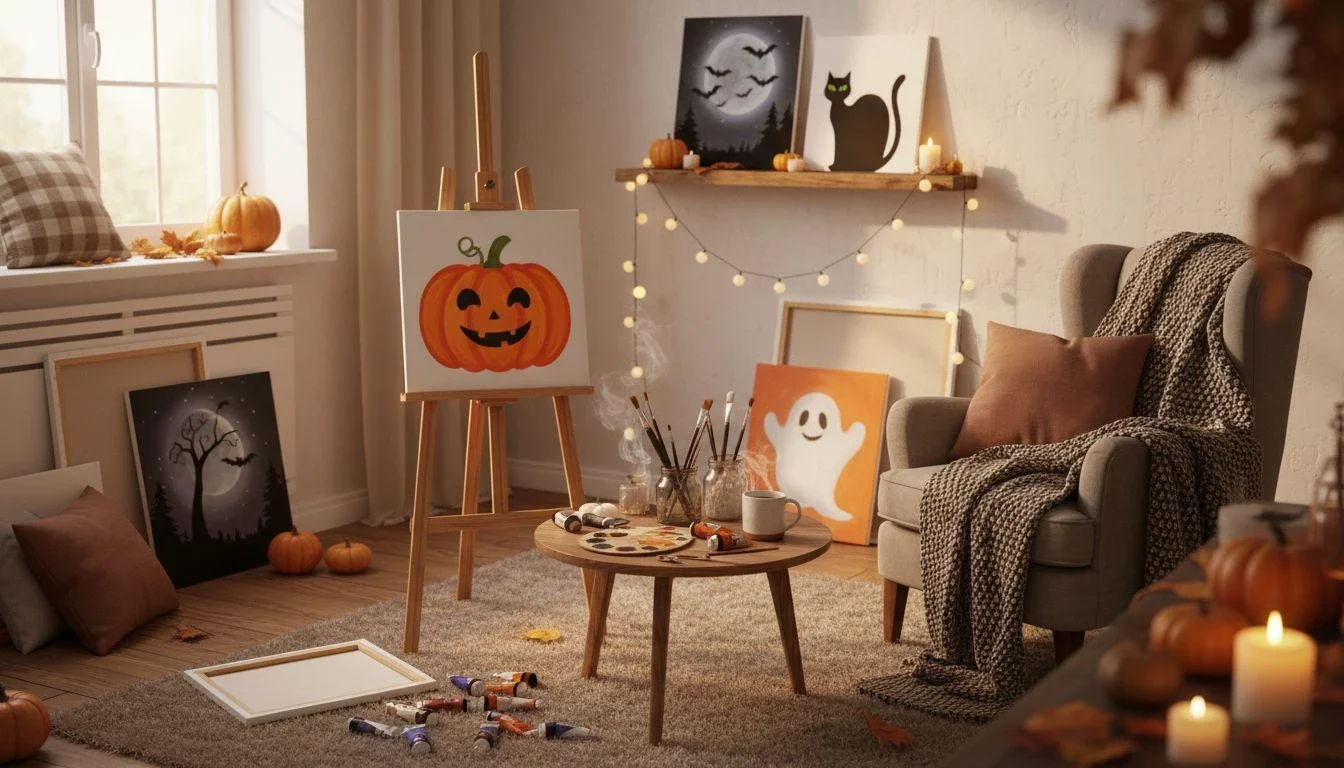
Which pumpkin painting canvas ideas are trending right now?
From farmhouse to Halloween art, these simple compositions work beautifully for easy pumpkin painting on canvas.
Minimalist white pumpkin on neutral background
Try soft greige or sage backgrounds for a clean farmhouse feel that pairs well with modern decor.
Stacked pumpkins with florals
Combine gourds with eucalyptus or sunflowers for height and movement, perfect for vertical paintings.
Teal and terracotta palettes
Swap classic orange for teal with copper accents, a fresh look that still reads fall.
Halloween silhouettes and starry skies
Place a jack o lantern under a deep ultramarine sky with a glowing moon for moody contrast.
Rustic textures and palette knife finishes
Use thicker paint for ridges and highlights, a tactile approach that looks rich on canvas. New to building dimensional strokes? Explore our texture painting on canvas guide for impasto basics, medium choices, and drying tips.
What color palettes work best for a fall pumpkin canvas?
Choose a palette that supports your theme and room colors so your art lands perfectly on the wall.
Classic Harvest
Burnt orange, raw sienna, yellow ochre, deep umber, and olive bring warmth and depth.
Cozy Neutral
Warm whites, taupe, greige, and muted sage create an airy, calming canvas that layers well.
Moody Halloween
Ultramarine, indigo, cool gray, and a pop of orange give nocturne drama with glow.
Modern Teal
Teal, turquoise, terracotta, and cream highlights feel current and gallery ready.
Middle CTA: Make your canvas shine. Photograph your pumpkin painting and turn it into high-quality personalized canvas prints that arrive ready to hang. Upload your art to Mixtiles to get started.
How do you photograph and digitize your pumpkin painting canvas for the best results?
Good light, a square-on angle, and minimal edits help your acrylic colors print accurately.
Lighting and setup
Shoot in indirect daylight near a window, place the canvas upright, and avoid glare with a slight tilt.
Phone camera basics
Clean the lens, enable grid lines, tap to focus, and lower exposure slightly for richer color.
Quick edits
Straighten and crop to the edges, then adjust white balance so whites look neutral, not blue or yellow.
File prep for Mixtiles
Export a high quality JPEG or PNG and choose a tile size that matches your viewing distance.
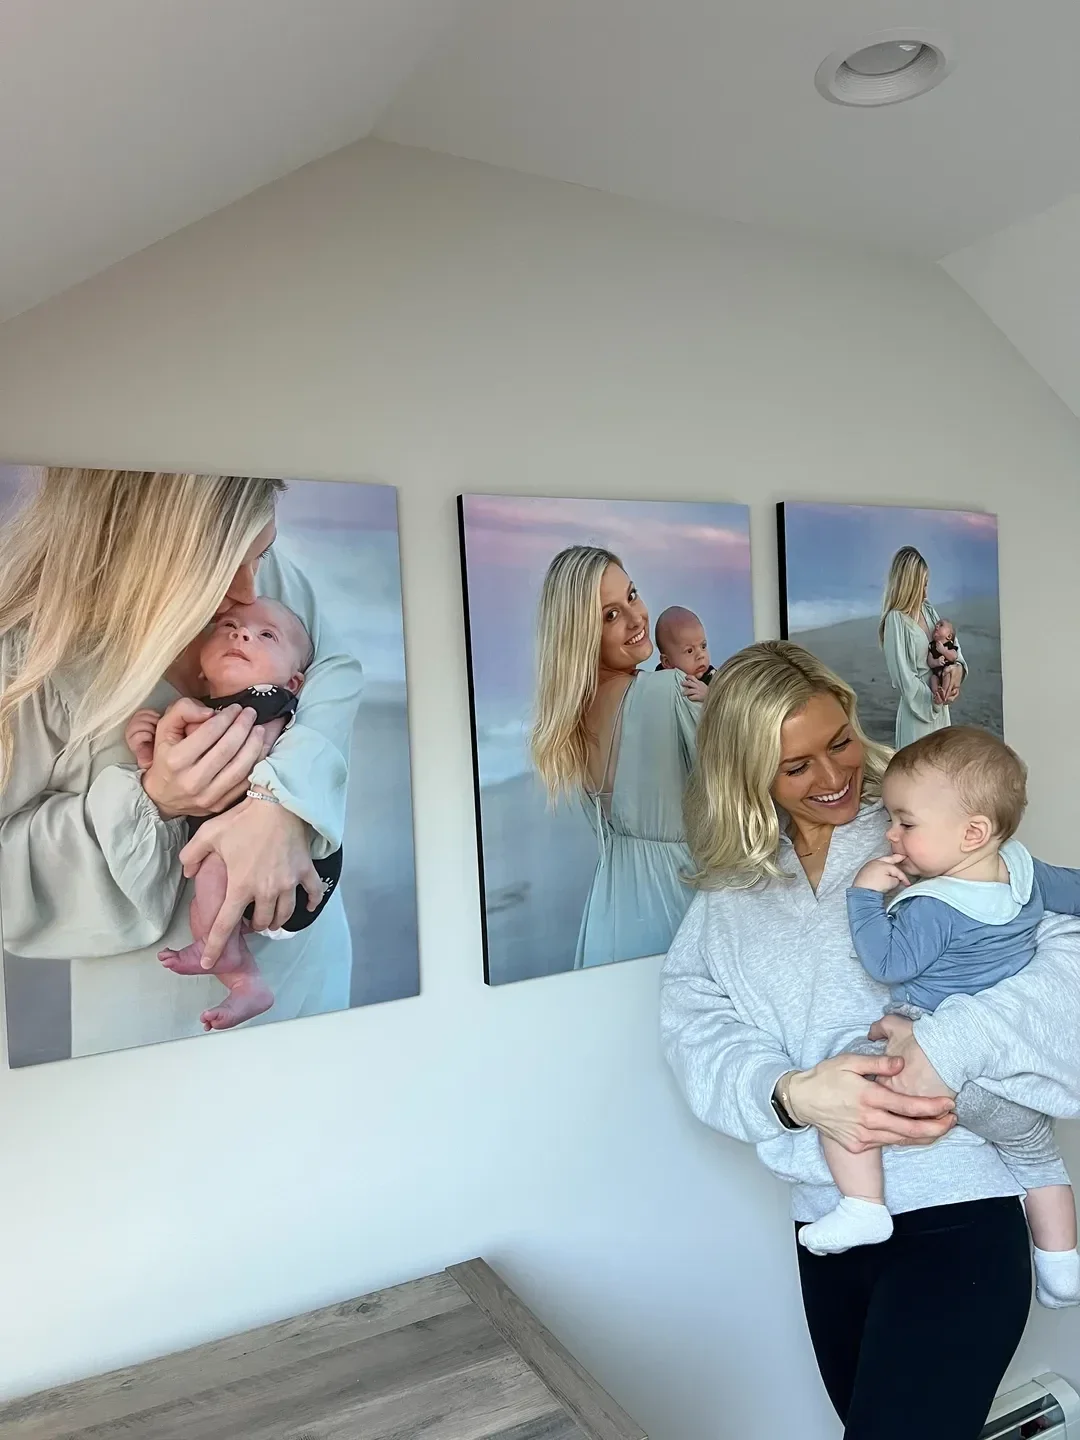
How can you display a pumpkin painting canvas without nails or damage?
Turn your painting photo into Mixtiles, or mix the original canvas with printed tiles for a flexible fall feature wall.
|
Mixtiles Size |
Best Use |
Metric Equivalent |
|---|---|---|
|
Small vignettes or grids of six; |
20.32 cm x 20.32 cm |
|
|
Single statement or trio over a console; |
30.48 cm x 30.48 cm |
|
|
12 x 16 |
Portraits of stacked pumpkins or florals; |
30.48 cm x 40.64 cm |
|
20 x 20 |
Anchor piece centered above furniture; |
50.80 cm x 50.80 cm |
Option 1: Hang the canvas traditionally
Use light hardware and center above furniture edges by two to four inches. Keep spacing even if pairing with other art.
Option 2: Turn your art into Mixtiles
Print your painting as Mixtiles for adhesive, repositionable mounting. Rearrange seasonally and avoid patching holes later.
Styling tips
Create a row of three to six tiles to start your own photo gallery wall, mixing your pumpkin painting with pumpkin patch photos or leaf close ups for texture.
What common mistakes should you avoid when painting pumpkins on canvas?
These quick checks keep your pumpkins on canvas looking dimensional and polished.
- Overblending highlights so forms look flat instead of rounded;
- Making every ridge identical rather than varying curves and widths;
- Ignoring a clear light direction that guides shadows and glow;
- Staying in mid tones instead of pushing contrast where needed;
- Skipping a protective seal that prevents dust and scuffs.
Conclusion: A pumpkin painting canvas is a rewarding fall project, simple supplies, forgiving techniques, and endless styles. Use a steady light source, layer values with acrylic paint, and choose a palette that suits your space. Then capture your painting and print it as Mixtiles for a no stress, no nail gallery wall. From single tiles to Gallery Wall Kits, Mixtiles makes it easy to display your art and update it every autumn.
Turn your pumpkin painting into wall-ready decor today. Upload your art to Mixtiles and build a cozy fall gallery wall in minutes, or explore our full range of wall arts on the app or website.
Frequently Asked Questions
What canvas size and type work best for a pumpkin painting?
Pre-primed cotton canvases in 8x10 or 11x14 are ideal for beginners—big enough for details, small enough to finish fast. Canvas panels are budget-friendly and lie flat. Choose medium tooth (10–12 oz). Add a quick gesso coat for smoother blending.
How can I make my pumpkin look three-dimensional?
Pick a clear light direction. Block a mid-tone first, deepen grooves with a darker value, then soften transitions. Place crisp highlights toward each ridge’s center and add subtle reflected light on the shadow side. Sharper edges near the stem draw focus; cast shadows ground the form.
How do I paint a white pumpkin without it looking gray or chalky?
Use titanium white nudged warm with tiny touches of raw umber or yellow ochre. For shadows, cool with Payne’s gray or ultramarine—not pure black. Keep whites clean by wiping your brush often and ensure the background contrasts enough to make the pumpkin pop.
What’s the best way to fix mistakes or muddy colors in acrylic?
Let the area dry fully, then correct with thin, opaque layers. For subtle fixes, glaze a translucent color to shift temperature or value. If needed, spot-prime with gesso and repaint. Prevent mud by cleaning brushes often and layering mid-tones, then darks, then highlights.
Be first to know — deals, news & decor ideas.
By clicking you agree to the Terms of Use & Privacy Policy